 A few days ago Trek issued perhaps the largest bicycle recall in history, affecting nearly 1 million bikes with disc brakes. I’m going to attempt to summarize the issue here.
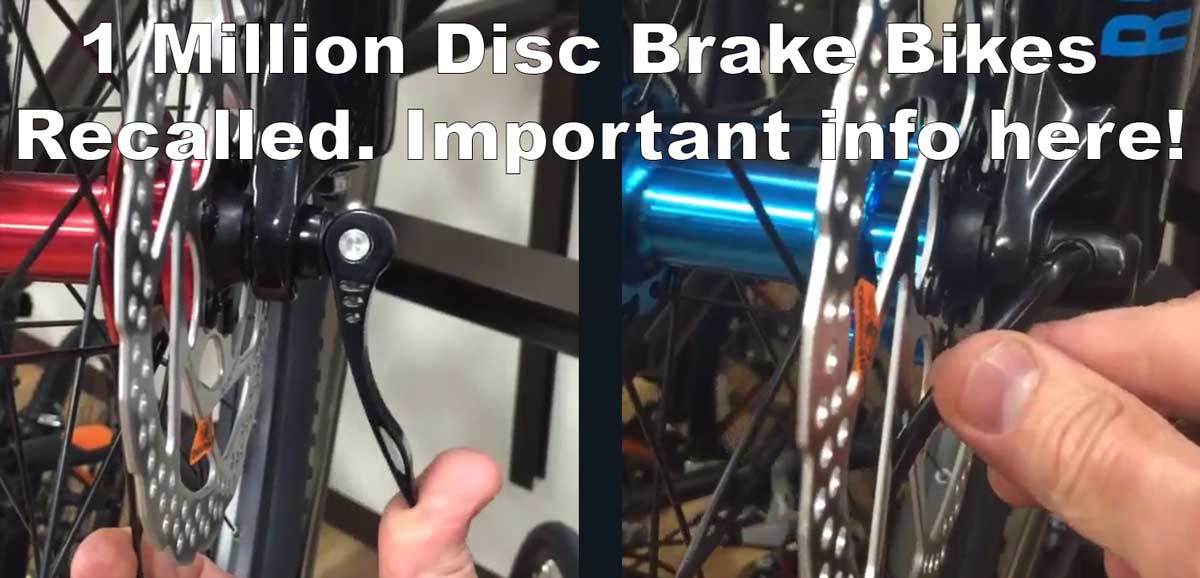
But first, here’s a link to a video showing an OK quick release,
another that shows the recalled quick release… and why it’s dangerous.
And finally, Trek’s official release on the recall.
This affects only bikes with disc brakes. Period. Despite the photos shown in the news, displaying rows of bikes without disc brakes, you do not have an issue if your bike does not have disc brakes.
The recall is for Trek bikes right now, but it’s expected to become an industry-wide issue. The quick release style being recalled has been in wide use across nearly all major bike companies. Trek recognized and is dealing with this first, as they became aware of a very serious injury for which research pointed to the quick release design as the cause.
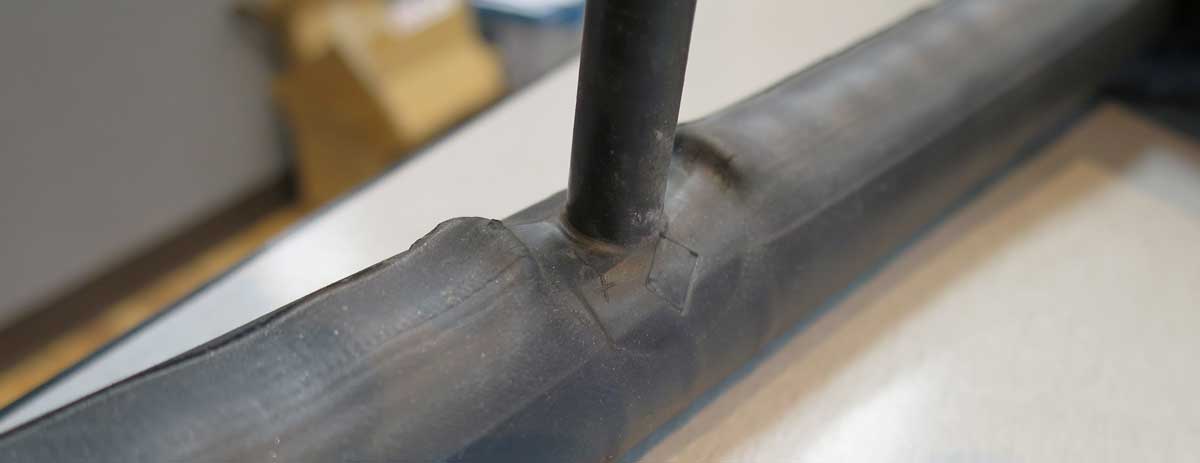
The problem is caused by the quick release rotating backward into the front wheel’s disc, where it can lock in place, causing the front wheel to suddenly stop rotating. This can cause a crash without warning, possibly launching the rider into harm’s way. It’s a serious problem.
Some in the industry believe this is a user-error situation, where someone has not properly installed the front wheel. In many cases, this is true. If someone does not properly install the front wheel, perhaps by screwing the quick release on instead of flipping the lever, or they simply don’t have enough pressure holding it in place, some quick release levers will drop into the disc. The obvious solution is to properly-install & tighten the quick release, and check it frequently. Better yet to use a quick-release that can’t do that (in 2003 it was shown that it’s not likely, but possible, for a front quick release on a disc brake bikes can loosen on their own, so let’s remove every opportunity practical!).
It would appear that simply moving the quick release lever from the disc-side of the wheel to the other side would eliminate the “lock & launch” problem, but this is not a reliable solution because the mechanism is not keyed and can easily be installed either way. But if you have a non-Trek bicycle and the quick release can rotate backward enough to go into the rotor, having the lever side of the quick release opposite the disc is better than nothing. The problem is that anyone, at anytime, could reinstall it differently.
You should also pay attention to the adjustment of your quick release much more often, since the evidence is clear that they can loosen over time. Yours might not have yet, but it could. Next time you’re in a shop, have them show you what proper tension on the lever is.
Replacing the quick release is super-easy. A couple of minutes and you’re done. Replacing broken bikes and healing from accidents is not so easy. Please take this recall seriously.
Thanks, Mike Jacoubowsky, Partner, Chain Reaction Bicycles